A project that I recently worked on involved making an app with a Sitecore-themed UI. This app needed to manage data that can normally be edited in the content tree, but the client wanted an easier to use UI on the page for non-technical users. Sitecore's SPEAK 3 framework was the perfect tool for the job.

What is Sitecore SPEAK 3?
SPEAK stands for "Sitecore Process Enablement & Accelerator Kit". It has had several versions in the past that have each worked differently. The current generation, the one that I have experience using, is SPEAK 3. SPEAK 3 was built using Angular 4. It allows you to create Sitecore-looking apps, as well as have access to the Sitecore Context and Translations. There is also functionality that prevents cross-site request forgery (Anti-CSRF), adding a layer of security to your app. If you are trying to add a new type of page for your Sitecore admins to use, perhaps linking to it from the Sitecore Launchpad, SPEAK 3 is the way to do it.
SPEAK 3 Prerequisites
To work with Sitecore SPEAK 3, you will first need to download and install Node JS (if you haven't already). Node JS will allow you to run your SPEAK application in debug mode, meaning that you can begin developing your app without having a working Sitecore environment. Node JS will also allow you to run the "npm install" command.
Next, you will need to install the Angular CLI (command line interface). If the wrong version of Angular CLI is installed, it will prevent the SPEAK app you are building from working correctly. The version that you need to install is 1.2.7. I spent many hours trying to figure out why my app was not working, only to have it come down to using the wrong version of the Angular CLI.
To install Angular CLI, open up up the Windows Command Prompt and type in the following:
npm install -g @angular/cli@1.2.7
It is also a good idea to be using a good IDE that allows for easy management of several text files at once. I recommend using Visual Studio Code for SPEAK 3 app development.
Creating and Running a Speak 3 Sample App
Speak 3 apps are built on Angular 4. Angular 4 uses Typescript, which is basically a type-sensitive layer put on top of Javascript. While this may seem intimidating, I never touched Typescript before working on a SPEAK 3 project a few months ago, and working with it was pretty intuitive. The quickest way to learn is to look at some sample code. Thankfully, there are some great sample SPEAK 3 apps to play around with and some very instructional blog posts to follow. The posts that I would like to share with you were extremely helpful in getting me up and running with the SPEAK 3 project that I recently worked on.

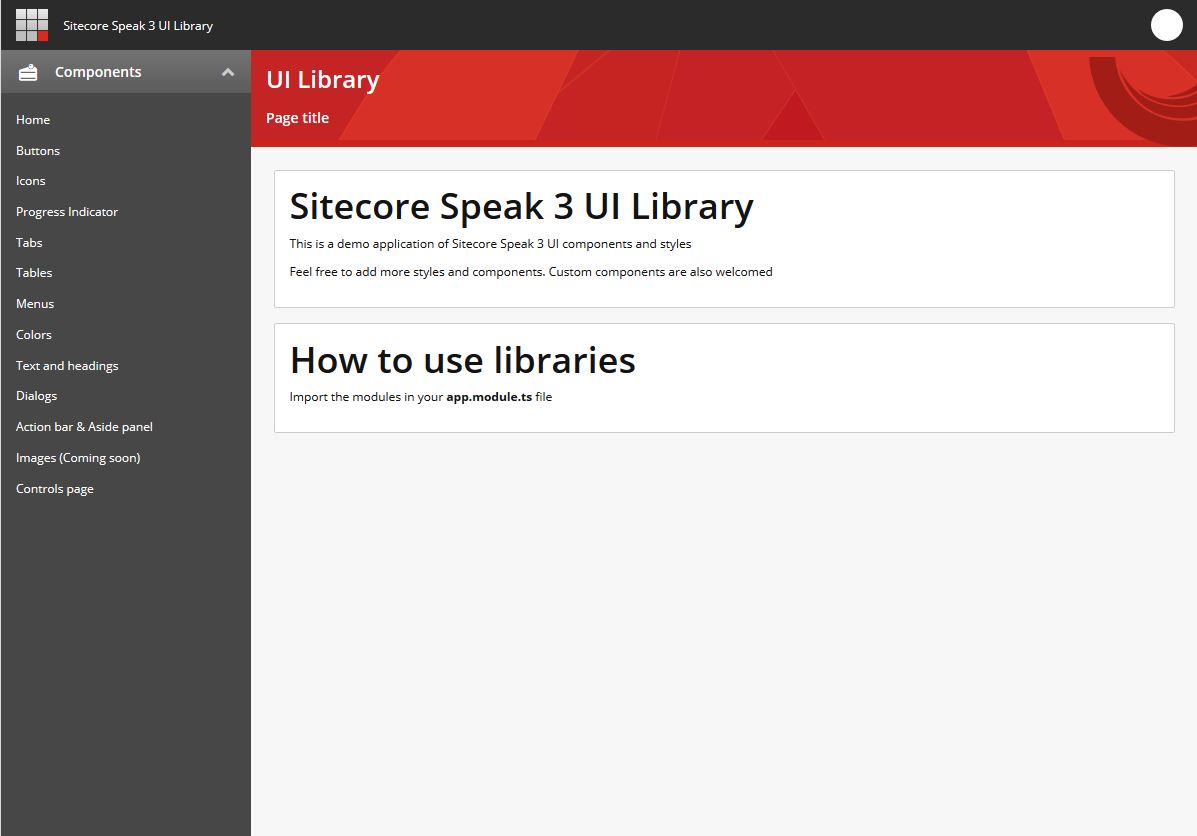
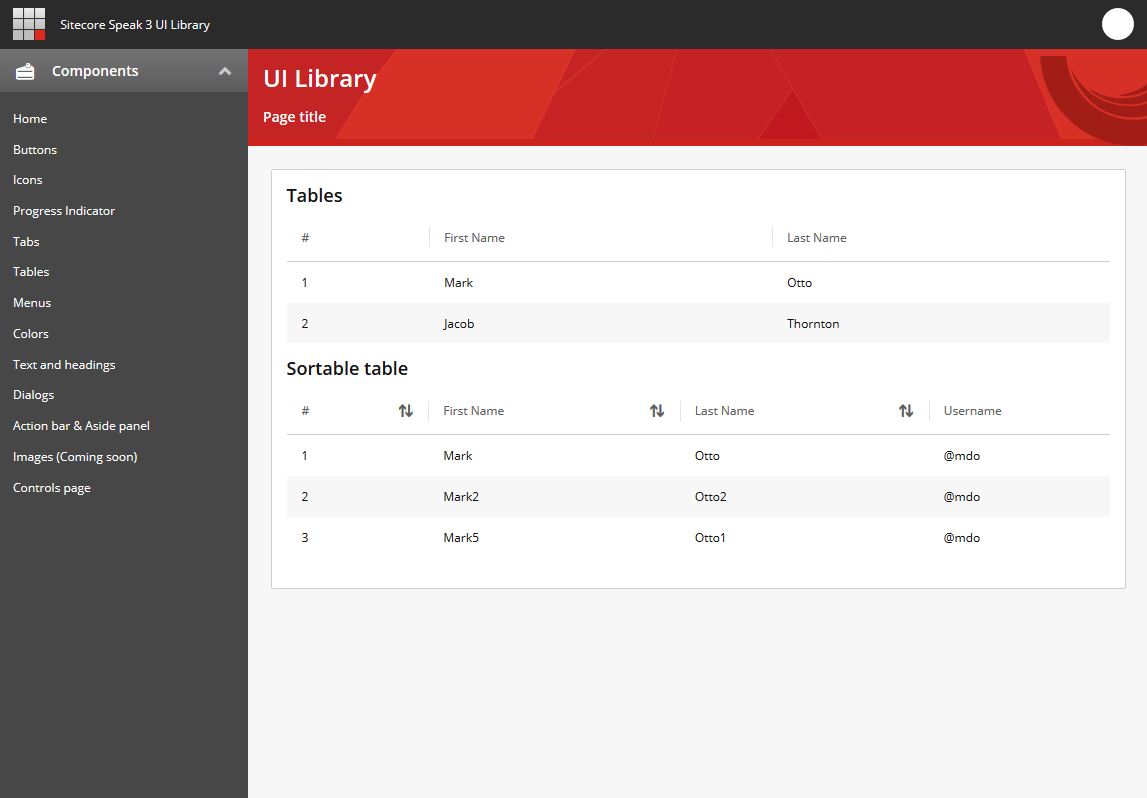
One of the most useful posts was from Mitya Árvai's blog. He created a demo app that showcases all of the predesigned SPEAK 3 components that Sitecore gives you. His blog post on the subject has a link to download the app, as well as instructions on how to run it.

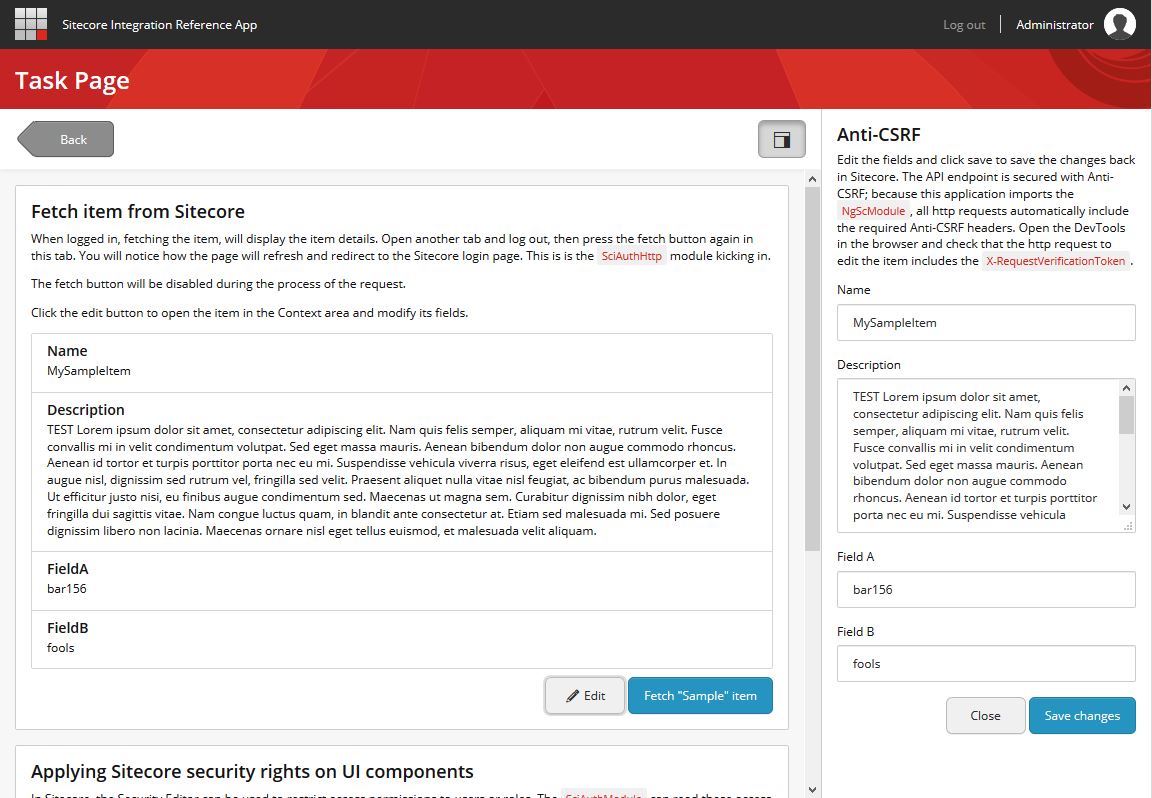
Once you have done that, I wanted to point you to Sitecore's SPEAK Reference Application. This application is installed via a Sitecore package and shows you how SPEAK runs within a Sitecore environment. It shows how SPEAK 3 uses the Sitecore context to show the logged-in user and to allow for a more seamless UI. The page really looks like it's part of Sitecore and not a separate application.
The Sitecore reference app also contains the source code for the server-side code that the sample app uses, as well as the source code for the client-side code. I would encourage you to play with Sitecore's sample app only after you've tried Mitya's sample app, since his app is easier to get up and running.
When you are ready to begin creating your own app, I referenced this blog post from a blogger that goes by Tim. In it, he goes through the detail of creating a SPEAK application, as well as the commands to run and build it.
These three sample apps and tutorials are were incredibly useful to me, and I hope that they will be for you in your SPEAK 3 app development.
Take care!
-Szymon